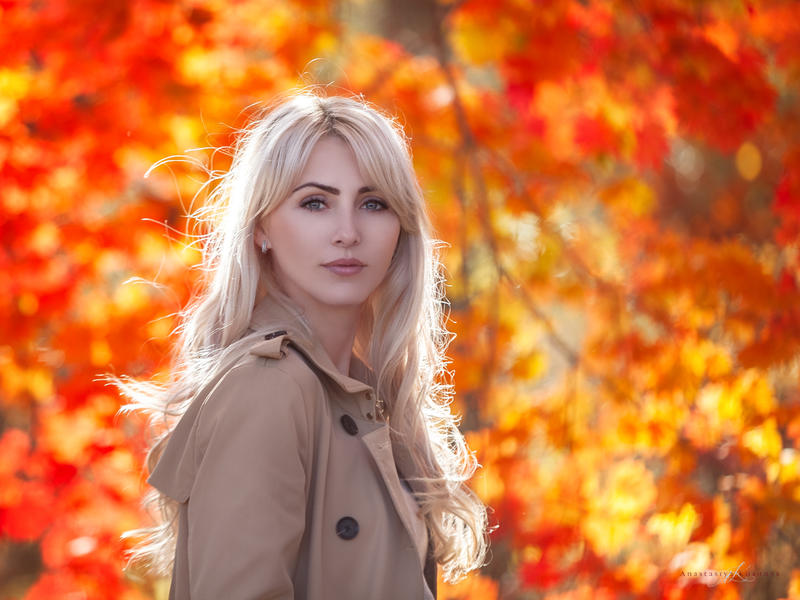

Natural light has the right appearance and feels for capturing warm, radiant photographs. The sun’s golden light complements skin tones and can be employed in a variety of ways to get various looks. Of course, while shooting with natural light, a lot may go wrong as well. Finding the ideal place to photograph from, as well as exposure, can be difficult. It’s nice to shoot during golden hour, but it’s not the only option!
Here are five suggestions to help you take your natural light photos to the next level and become a more versatile photographer who can deal with any lighting scenario that comes their way.
When shooting inside, placing your subject in front of a window is one of the finest methods to light them with natural light. Depending on the quality of the light coming through the window and the style you want to achieve, you can pose your subject in front of it in a variety of ways. In the shot above, for example, the window casts a gentle, balanced light that highlights the entire face while avoiding shadows. If your window is smaller or the light pouring in is directed and harsh, you can use it to create a more dramatic portrait.
If you’re shooting in the middle of the day, when the sun is directly overhead, you’ll see less-than-flattering shadows on your subject’s face. Bright sunlight can also lead your subject to squint, which isn’t ideal for a portrait. The easiest way to avoid both of these usual obstacles is to seek out some open shade. Open shade can be found in a variety of settings–for example, big shadows cast off the side of a building or wall, under a pavilion, or even under an umbrella if you want to include props!
Pay attention to the position of the sun! Even when it’s overhead, you may use it as an accent in your photographs in inventive ways. Shooting into the sun is a great method to add lens flares to your shots while also giving your subject a brilliant backlight. Just remember to apply this approach sparingly–it won’t be necessary in all of your images.
You may require some assistance in fine-tuning the illumination. A reflector comes in handy in this situation. There’s no need for electricity! If you’re doing full body pictures, simply have your model hold it up in front of them, or have an assistant hold it up for you. The 5-in-1 collapsible versions are ideal since they can reflect light in a variety of colour temperatures and are extremely lightweight and portable. However, if you’re caught without one, anything from a white T-shirt to aluminium foil can be used to make a DIY reflector.
The uneven light produced by leaves and branches can produce some fascinating patterns, but it can also be quite distracting and detract from the subject. When employing dappled or patterned light, be cautious when it falls across the subject’s face — it will be up to you to decide whether it is a complement or a distraction. However, when done properly, the results can be rather fascinating!
Other potential sources of intriguing light patterns include wind window blinds, lace, textiles, poles, fences, power lines, and a variety of other objects–once you start looking for them, they’ll be everywhere! We hope these Pro tips for taking creative natural light portraits will help you create awesome portraits that will awestruck everyone.
Have a query about our courses get in touch with us and we will guide you through the world of photography
(0) Comment